This page is required to review and configure before you can begin using the Benji Pays platform.
Important: If you make any changes, be sure to save the settings in each section you’ve updated.
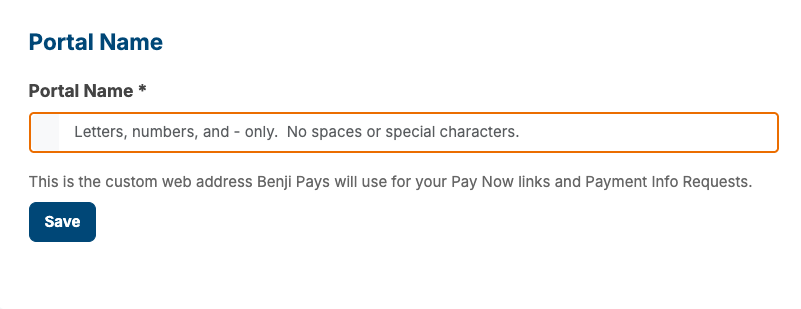
The Portal Name will be your company name in lowercase with no spaces.
For example, if your company is Northbridge Solutions Inc, you would enter northbridgesolutionsinc — resulting in the portal link: northbridgesolutionsinc.benjipays.com.
If you’d like to use a custom domain, please complete the step above and then email us at support@benjipays.com with the domain name you’d like to use (e.g. payment.northbridgesolutionsinc.com).
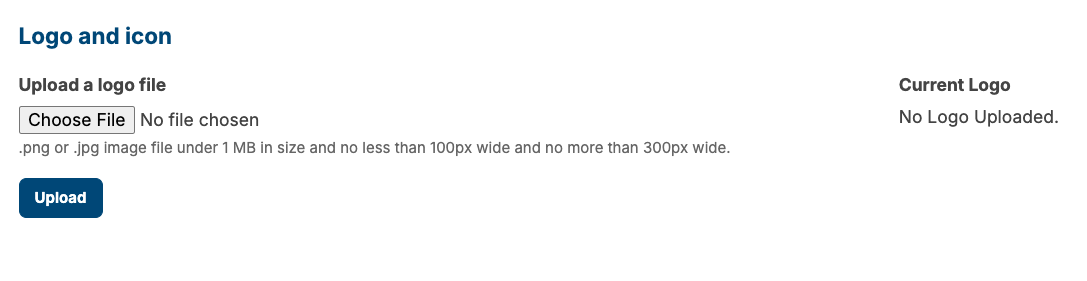
Upload your company's logo by clicking 'Choose File' and then 'Upload'. This will ensure that your logo appears at the top of all email notifications and receipts.
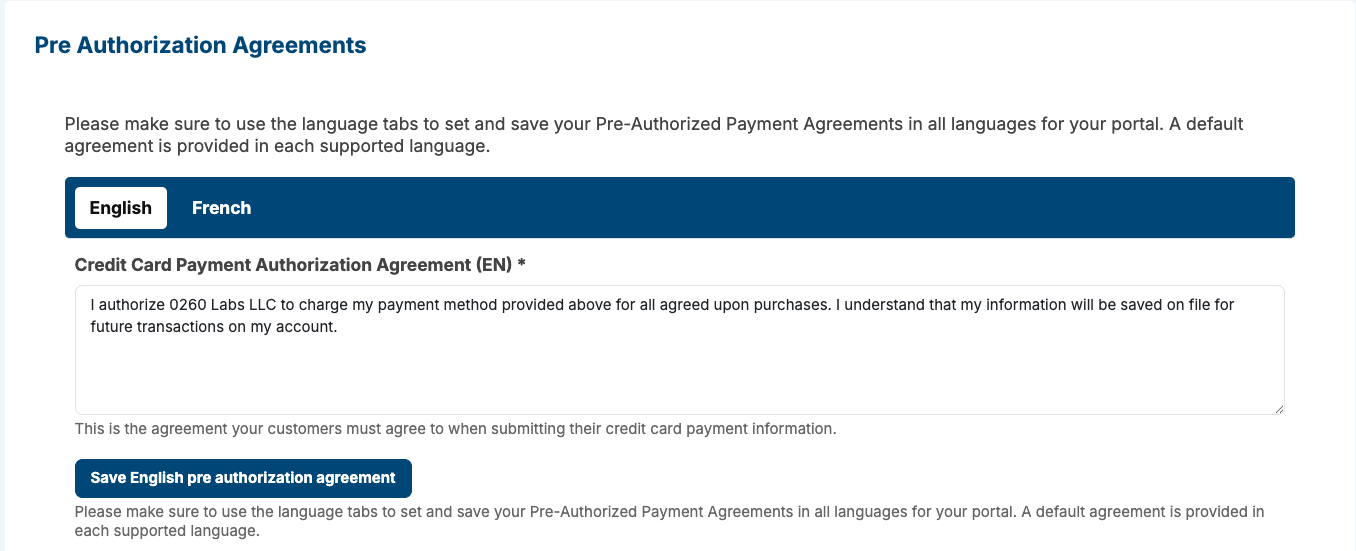
The pre-authorization agreement message can be left as the default, but you’re welcome to customize it if you prefer.
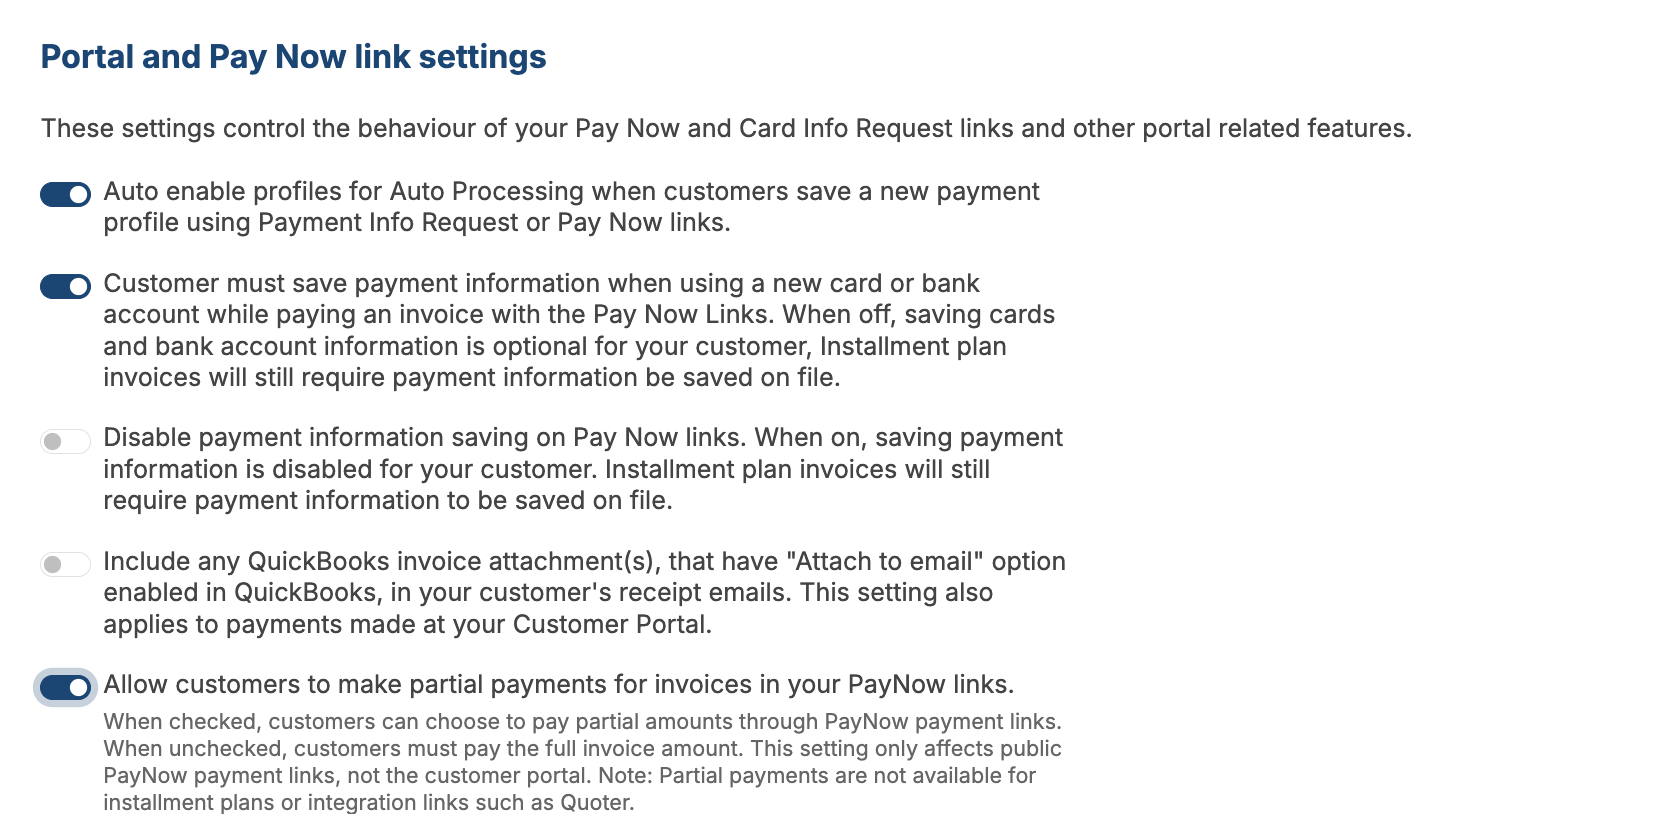
We recommend enabling the top two options by default, but please review each one carefully to determine if they apply to your setup. If you’re not using Auto Processing, you may prefer to leave them disabled.
For the last option in the orange section, we recommend enabling it if you’re using a PSA system.
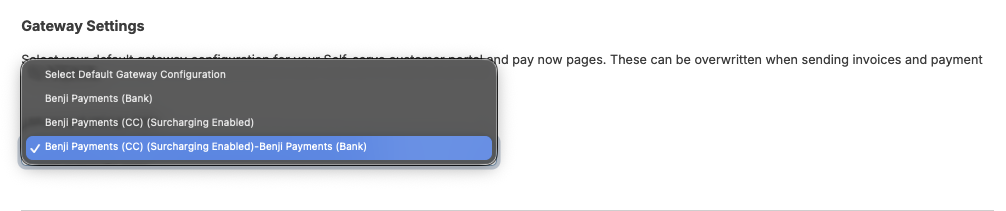
If you accept credit cards, EFT/ACH, or both, ensure to select the corresponding option that reflects your accepted payment methods. This allows your customers to choose between credit card and bank payment.
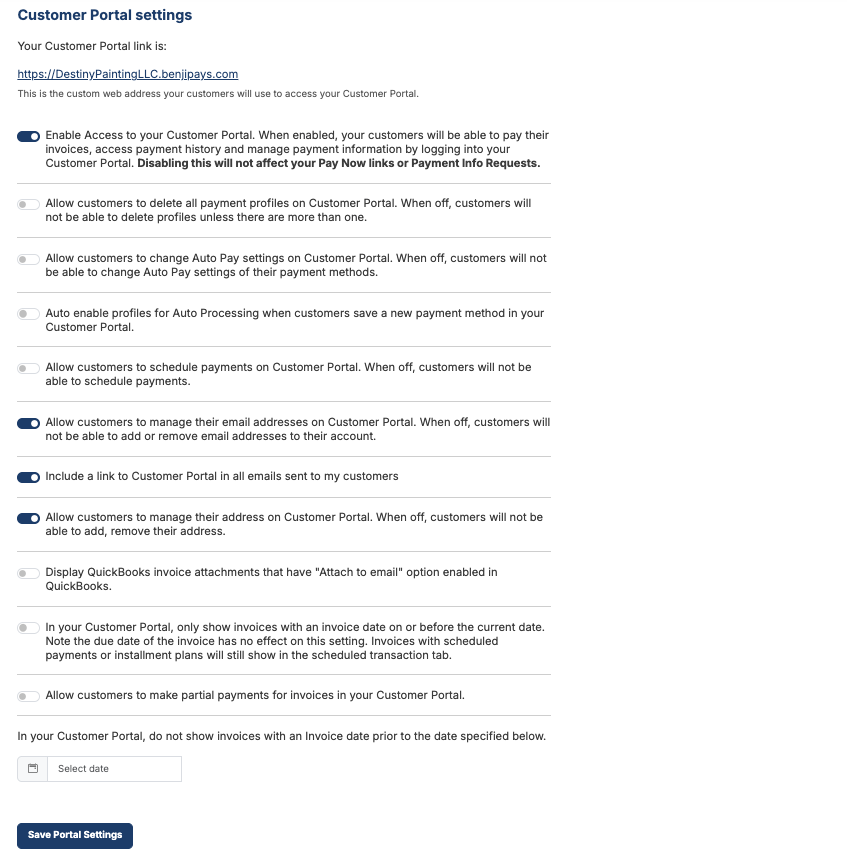
Here are the Customer Portal Settings, where you can control the level of access and features available to your customers. Please review each option carefully to ensure it aligns with your business needs and preferences.
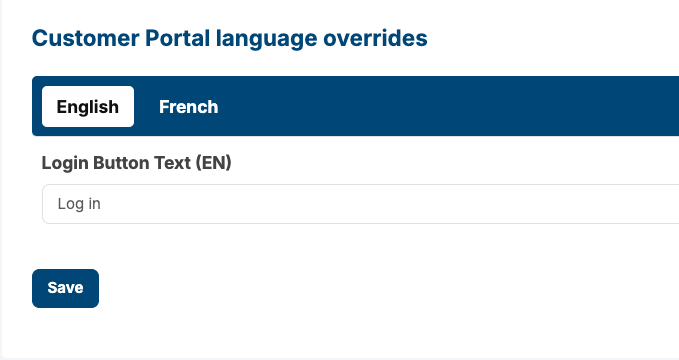
If you would like to change the name of the Customer Portal Login button, you can use the setting below to customize the label displayed to your customers.
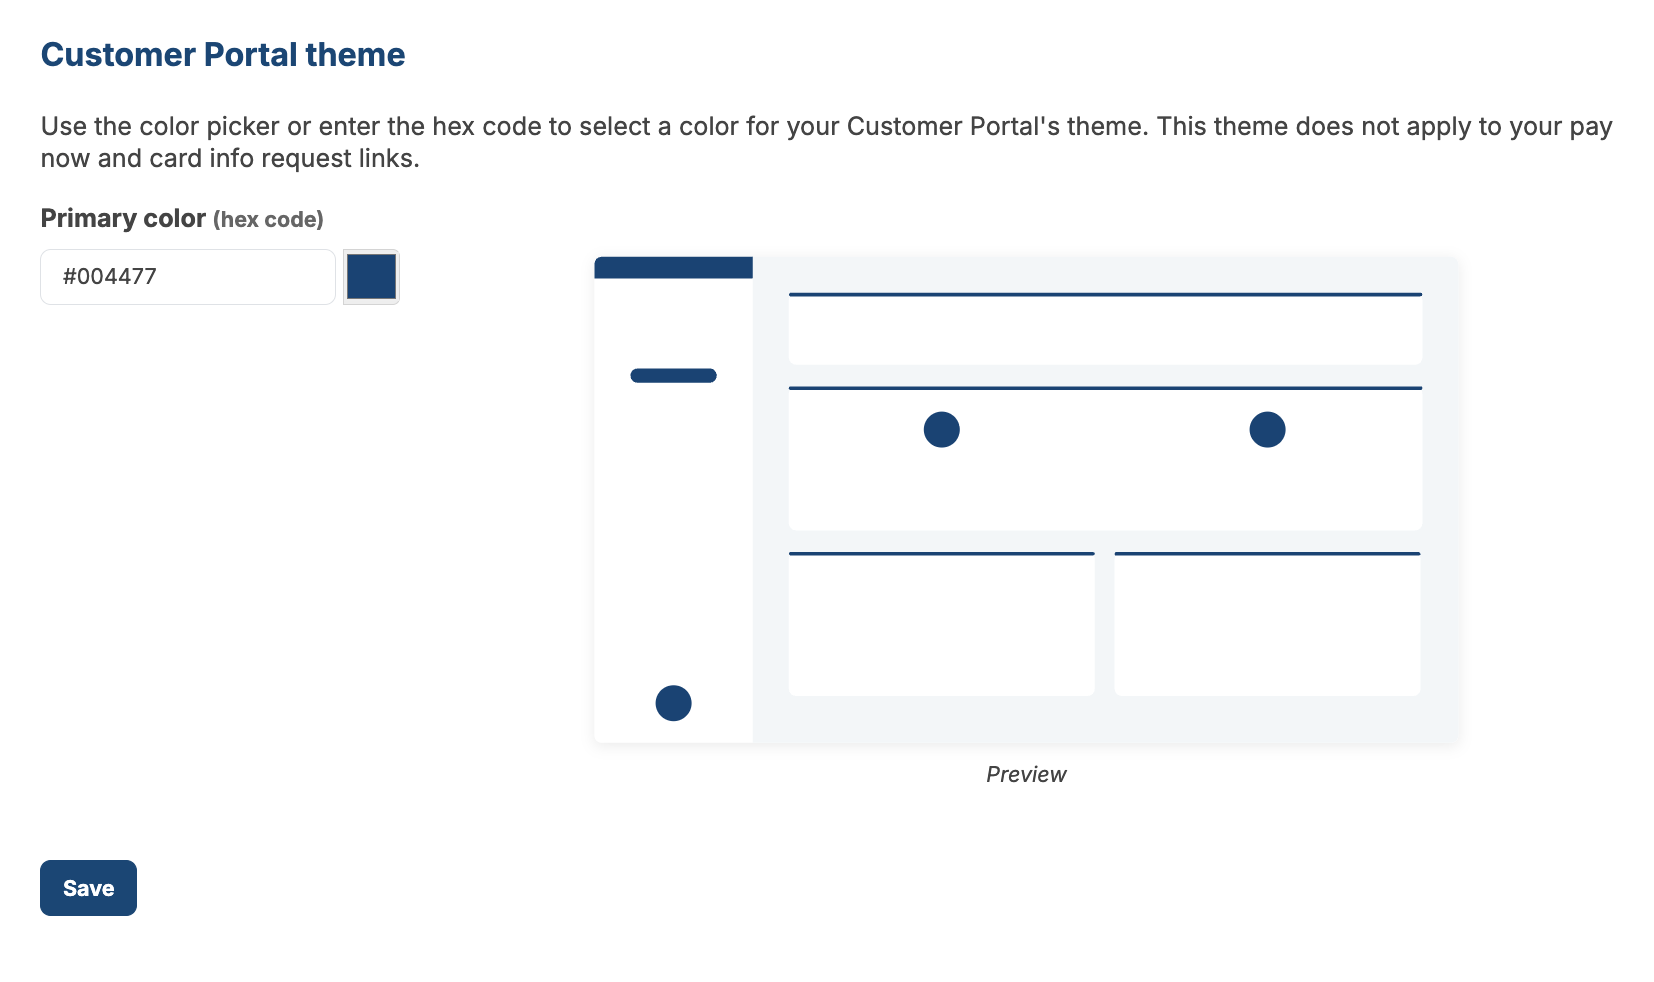
The Customer Portal default color is Benji Pays blue. If your website uses a different primary color, you can update it here to match your branding and maintain a consistent look across platforms.
This option lets you add additional buttons to the Customer Portal, giving customers quick access to your company website or any other resources you’d like to share.

If you’re using a PSA system, you can take advantage of Single Sign-On (SSO). We have a dedicated article with step-by-step instructions on how to configure this feature. Simply click the following link.

Was this article helpful?
That’s Great!
Thank you for your feedback
Sorry! We couldn't be helpful
Thank you for your feedback
Feedback sent
We appreciate your effort and will try to fix the article