Autotask allows managed service providers (MSPs) to share invoices with customers through the customer portal. Customers can log in, view their invoices, and make payments.
To make the process even easier, you can add a “Pay Invoice” button directly to your invoice template, allowing customers to pay their invoices directly with your Autotask portal.
To add the button, log in to Autotask as an MSP admin and follow these steps:
Go to Admin → Features and Settings.
Under Finance, Accounting, and Invoices → Invoice Templates.

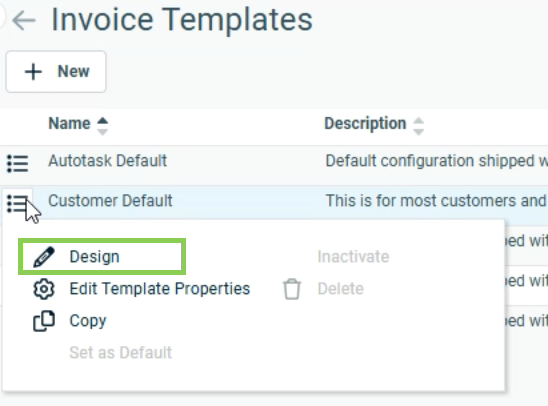
Click on the hamburger icon and select Design on the template you’d like to edit.
Scroll to the bottom of the invoice → Edit → Select HTML

To include a Pay Now button on your invoice template, copy and paste the following code snippet into the appropriate section of your template editor.
<!-- Pay Now Button -->
<div style="text-align: right; padding-top: 10px;">
<a href="Your Payment Link Here"
target="_blank"
style="
display: inline-block;
background-color: #007bff;
color: #fff;
padding: 10px 20px;
text-decoration: none;
border-radius: 6px;
font-weight: bold;
font-family: Arial, sans-serif;
margin-top: 20px;
"
onmouseover="this.style.backgroundColor='#0056b3'"
onmouseout="this.style.backgroundColor='#007bff'">
Pay Now
</a>
</div>
- You can retreive yor custom payment link in Benji Pays by going to Settings >> Custom Payment Links >> PSA/ERP and other 3rd Party Payment Links >> Autotask >> Default link

Following the steps above will allow you to generate a Pay Now button on your invoice PDF similar to the screenshot below:

Was this article helpful?
That’s Great!
Thank you for your feedback
Sorry! We couldn't be helpful
Thank you for your feedback
Feedback sent
We appreciate your effort and will try to fix the article